

By Ghoztt
A couple of weeks ago I posted a strategy guide to the Nightmare Kephess encounter, but I thought this encounter warranted another look at it in detail. While every operation group is different, I’ll offer up some more insight on this fight and how we handled each phase for our operation composition. This was, by far, the most difficult encounter in the game to date and required different methods of handling each phase.
Our operation group consisted of the following:
Tanks:
Assassin
Assassin
Healers:
Mercenary (Guard)
Sorceror (Guard)
DPS:
Marauder
Operative
Powertech (Me)
Sorcerer
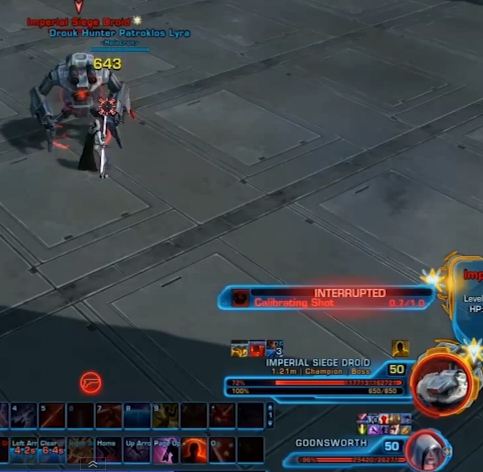
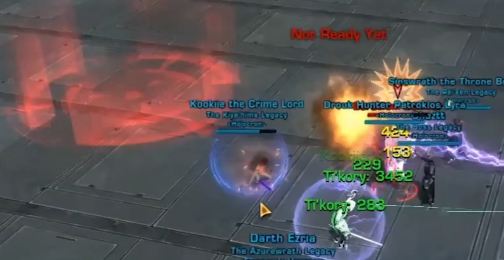
Phase 1
As mentioned in the strategy guide it is absolutely essential that you have classes with a short interrupt cooldown or, in the case of Marauder/Sentinel, the ability to do two interrupts. We had one assassin tank and two healers cycling their interrupts on the bot to the right of the walker (designated Bot 1). The tank would taunt the center bot (Bot 2) whenever possible to keep the agro off the Operative, Sorcerer, and Powertech who are alternating interrupts there. The reason 3 DPS are focused on the center bot is to avoid the saturation fire that will hit that bot first so Bot 2 needs to be burned down first. There will be other areas that are shot with saturation fire at the start, but they are not where the bots are located. The far bot (Bot 3) is being handled by our other Assassin tank and Marauder since they have two interrupt abilities. DPS is not important on Bot 3, but getting the interrupts off are so don’t worry about taking down this bot quickly. Once the 3 DPS are finished with Bot 2 we split off our DPS with the Sorcerer going to Bot 1 and the Operative and Powertech to Bot 3 to help finish it off. Those responsible for interrupts should continue to do so in the event that if one is missed the extra DPS can use theirs as an emergency interrupt. Bot 3 will die next before everyone goes over to Bot 1 to finish destroying that one.
If interrupts are missed the bots will gain a damage and shield buff which will make them hit harder and take less damage. If Bot 2 gets too many stacks then it will take longer to get to Bot 3. Remember that Bot 2’s location is where saturation fire will hit first so if you spend too much time there the DPS get caught in it. The same applies if Bot 3 gets too many stacks as it will take longer to kill it and you may end up with saturation fire there. If Bot 1 gets too many stacks then it isn’t AS bad, but you still want to avoid it if possible. One stack isn’t a big deal, two stacks is manageable, three stacks is problematic and four stacks you may as well wipe and start over.
Interrupts should not be missed for the sake of DPSing
Phase 1A
Once the last bot is destroyed a Baradium Bomber will appear at one of three random locations. We found it best to label each location with a number. The door next to Bot 1 is designated ‘One‘, the door where the operation team entered the room is assigned ‘Two‘, and the far location is ‘Three‘. We had three classes that could pull enemies so we had an Assassin watching one and two while I, as a Powertech, watched three. It is best to have at least one class that can pull, especially for location three. When the Bomber appears make sure you call out the location so that everyone knows where to congregate. Pull the Bomber in and make sure that a tank taunts off if a DPS ends up doing the pulling. There is a strategy to killing the bombers in order to maximize DPS on the Walker. The person who gets the killing blow on the Bomber will get the bomb debuff so as its health gets to about 3% to 5% all DPS should stop and allow the tanks to finish it off. This will ensure that one of the tanks gets the debuff to go under the Walker. This is important because it allows the DPS to front load their abilities for maximum burst either by building stacks, starting DoTs or casting timed abilities. This is also where we use our DPS cooldowns and bloodlust abilities in an effort to get the Walker below 60%. Be sure to have a Sorcerer pull the Tank out from underneath the Walker as he shoots the grapple cable to avoid unnecessary damage.
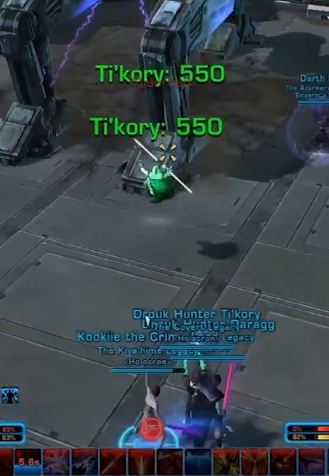
Sorcerer pulling the tank out
Phase 2
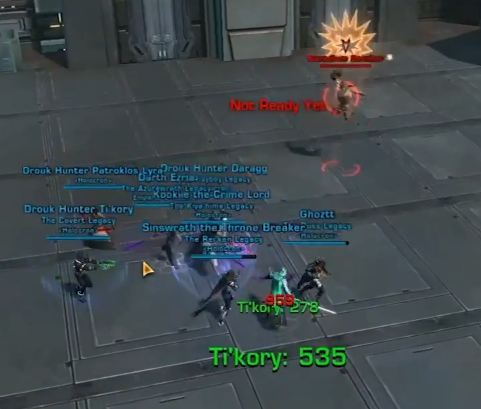
This is the phase that took us the longest to get past and I imagine that it is the same story for many operation groups out there. We tried to utilize different strategies that were used by other kill videos, but in the end we had to adapt our own using a mixture of strategies that we saw. As the walker is being burned down, the first group of Trandoshans will appear. One of our Assassin tanks (Tank 1) breaks off from the walker early to meet them. He will use his Force Shroud and AoE the group to get initial agro without taking massive damage from the Trandoshan Warrior’s reflective shields. As this is being done, the Walker should be coming back up so the DPS should transition to the Warriors and burn them down quickly, then AoE the Trenchcutters. The other Assassin tank (Tank 2) will break off to meet up with the second group of Trandoshans that spawn near the entrance. He will do the same and use force shroud, then AoE to get initial agro. He will then kite the group over to behind the walker to avoid having to fight in any saturation fire. This is where it starts getting complicated because we have our ops group separated into four groups. As the second Trandoshan group goes behind the walker, the first group of Trandoshans should be dead. The Sorcerer healer, Operative DPS and Sorcerer DPS will stay with Tank 2. Those two DPS will focus on the Warriors of that group and burn them down before AoEing the Trenchcutters. The Sorcerer healer is focused on healing that group because Tank 2 will take quite a bit of damage. In the meantime, our Mercenary healer moves in front of the Walker, while the Marauder and Powertech DPS follow Tank 1. The Mercenary healer stands in front of the Walker so that he is in range to heal Tank 1 during the next phase. Tank 1, the Marauder and myself take a route behind the walker to get to the third spawn point to avoid any saturation fire on the main battlefield. Tank 1 will get initial agro with an AoE taunt, then the Marauder will use Predation speed boost so Tank 1 can avoid taking damage by kiting. I will taunt one of the Warriors out of that group and the Marauder and I will burst it down. To mitigate some damage, I will use my Energy Shield and Kolto Overload (sucks but better than nothing). Once that Warrior is dead I will taunt the other that is still following Tank 1. This time I will use a med pack to keep myself alive in case the healers are behind on healing. Meanwhile, Tank 1 takes a route around the battlefield and, when they start to catch him, he will use Force Sprint to get away. By this time both of the Warriors of the third spawn group are dead as well as the Trenchcutters from the second pack. Tank 1 will then kite his group over to Tank 2 while everyone congregates there to AoE the last Trenchcutter group. As they start to drop off, Tank 1 will kite them out of the corner so that we can prepare for the next Baradium Bomber that will appear as soon as the last Trenchcutter dies.

Kiting the Trandoshans
Phase 2A
See Phase 1A. We try to have the Walker down to about 20% at this stage.
Yanking the Baradium Bomber to us
Phase 3
Be sure to call out when the Pulsar Droids are landing so that the melee DPS can peel off the Walker and get into position. Healers and ranged DPS should already be standing where the Pulsar Droid lands. One tank needs to stay out to take the rail shots while everyone else stacks. As the counter on the opposite Pulsar Droid runs out you will need to switch targets to avoid being caught in the AoE. As the last Droid is destroyed everyone should get into position for Phase 3A.
Watch the blue bar count down so you know when to switch to the other Pulsar Droid
Phase 3A
The last Baradium Bomber will not appear immediately. First, Kephess will drop down from the Walker and a Tank will pick him up. DPS can get a shot or two on Kephess before the Bomber appears. The Tank not on Kephess should take agro on the Bomber (remember to pull it if you can) and burn it down. This time it doesn’t matter who gets the bomb because as the Bomber is being burned down Kephess will leap in the air. When this happens everyone needs to stay away from the red circle landing spot. The Tank on the bomber will have to peel away, so stun the bomber so it doesn’t run off and finish it off. When Kephess lands he will put a bleed on the Tank that picks him up so the other Tank will need to taunt off. Healers should only need to concentrate on the Tanks while the DPS take down the Walker for the final time.
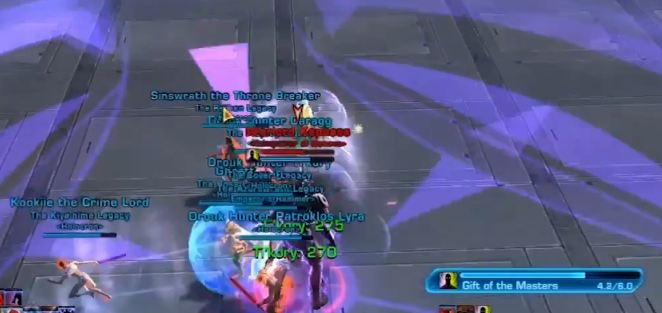
Phase 4
Once the Walker is destroyed, everyone should turn their attention to Kephess. He will continue the cycle of jumping in the air and putting a red circle on the ground. He’ll pull in the person standing closest to it so try to stay away from it if you are not a tank. Tanks will have to trade off taunts, one takes the bleed while the other tanks. DPS should DPS and Healers heal. This will continue until Kephess’ health reaches 60%. At this time he will cast Gift of the Masters and pull everyone into an AoE centered around him. Our Marauder will pop the Predation speed buff in order to get out if it as quickly as possible. We have the Tank that is picking him up first run towards the South or North wall (whichever is convenient at the time) while everyone else runs towards the main entrance. Healing everyone up immediately isn’t important here as the only people who should be taking damage are the Tanks.
Run away!
Phase 5
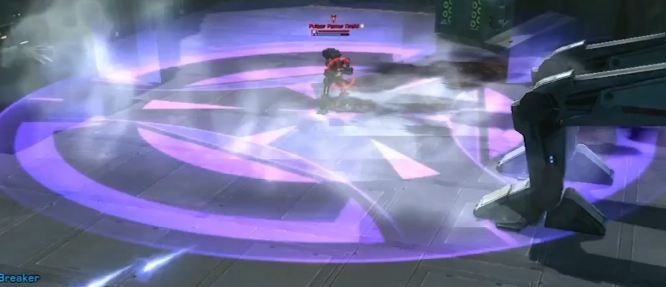
This is the final stretch where things get a little tight on space. We start on one side of the room where Kephess will knock bank Tank 1 then start casting Breath of the Masters. During this cast bar, Tank 2 will taunt while Tank 1 will start placing purple circles as far away as he can. On the second circle drop Kephess will pull Tank 1 back to him so he will have to get out as quickly as possible and finish dropping his circles. He then has to get back in time to taunt Kephess as he knocks Tank 2 back and starts casting Breath again. After this swap, Tank 1 will kite Kephess to the opposite wall in order to have more space to drop circles. Rinse and repeat. If your DPS is where it should be you should have six total tank swaps so place your circles wisely. Best of luck to you all and I hope you can utilize some of this detailed guide for your kill.

Kill Video (Tank PoV)